How to Remove a Person From a Photo in Seconds
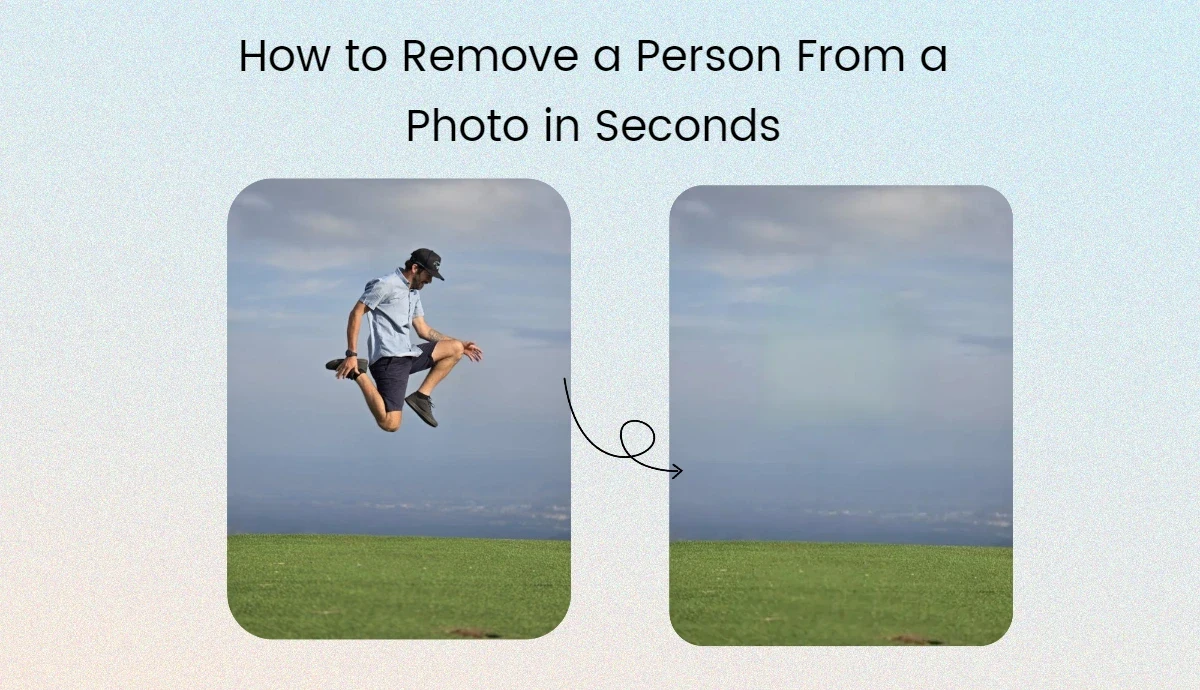
Have you ever taken the perfect picture and discovered that someone you didn’t want to be there is in the background? It’s not fun when someone photo-bombs at a wedding or shows up in a scenery shot without being asked. What if, though, you could get rid of those things quickly?
This guide will teach you how to use the newest tools to remove a person from a photo in seconds. This post was written with social media managers, photography fans, and graphic artists in mind. It will help you improve at editing photos and always get perfect results.
Why It’s Important to Remove Unwanted Elements
Visuals speak louder than words in today’s digital age. Social media managers may increase engagement and brand loyalty by maintaining a spotless online persona. Photography enthusiasts aim to freeze the purity of a moment in time. To achieve professional results, graphic designers need immaculate photos for their work. Eliminating extraneous features from photographs can boost creativity, save time, and improve the image’s quality.
Understanding the Basic Tools
Over time, photo editing software has seen significant changes. Tools are now accessible for every budget and skill level, ranging from Adobe Photoshop to free web editors like Canva and AI Ease. When selecting the appropriate tool, take into account both the task’s intricacy and your unique needs.
Selecting the Right Tool
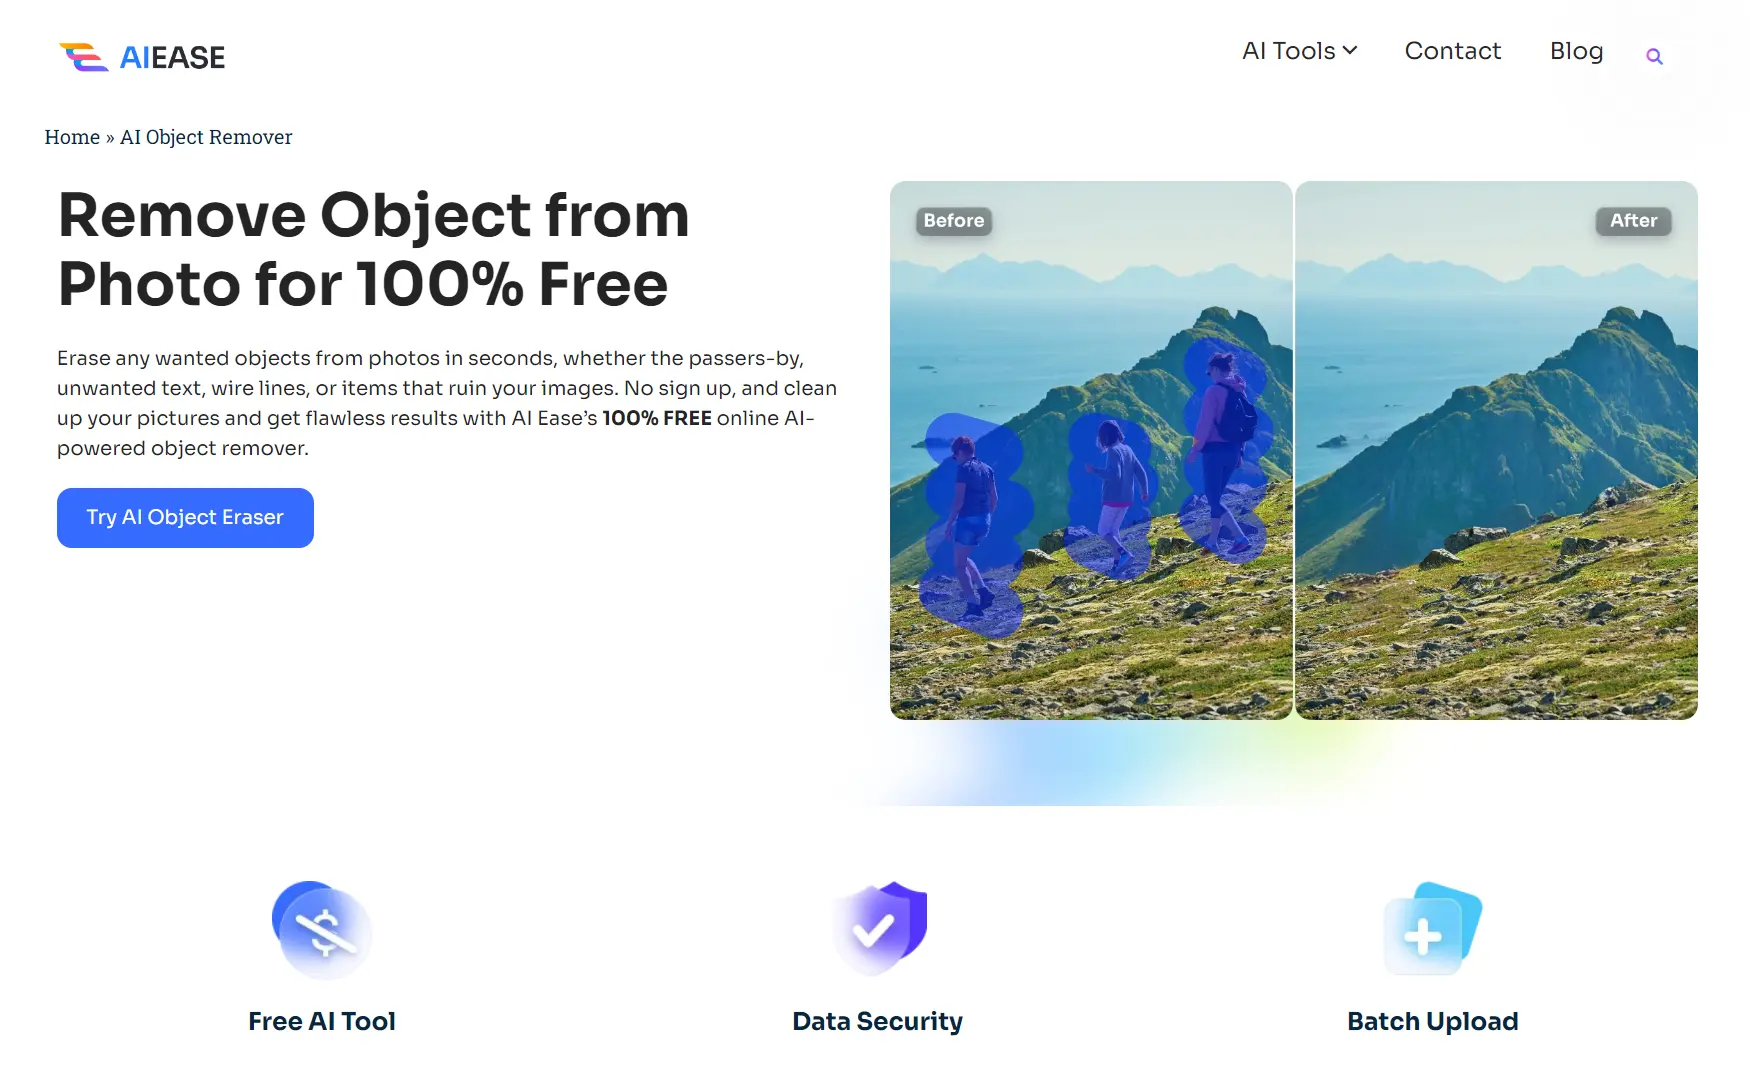
Although there are many free photo editors, they serve differently regarding speed, performance, and usage. Here, we recommend AI Ease most. It’s an all-in-one AI photo editor providing extensive and valuable tools. Harnessing the power of advanced AI technology, its free object remover can precisely identify the objects and persons within the image and remove them in seconds. After that, you can export the high-res and clutter-free output and post them anywhere you like.
Step-by-Step Guide for Easy Removal
Although removing a person from a picture can appear complicated, following the proper procedures makes it simple. Here’s how to finish it fast and efficiently with AI Ease:
1. Go to AI Ease
First, go to the AI Ease website: https://www.aiease.ai/. Simply tap the URL on your device’s Chrome or Safari browser. On the navigation bar, select the “AI Object Remover” tool.
2. Upload Your Photo
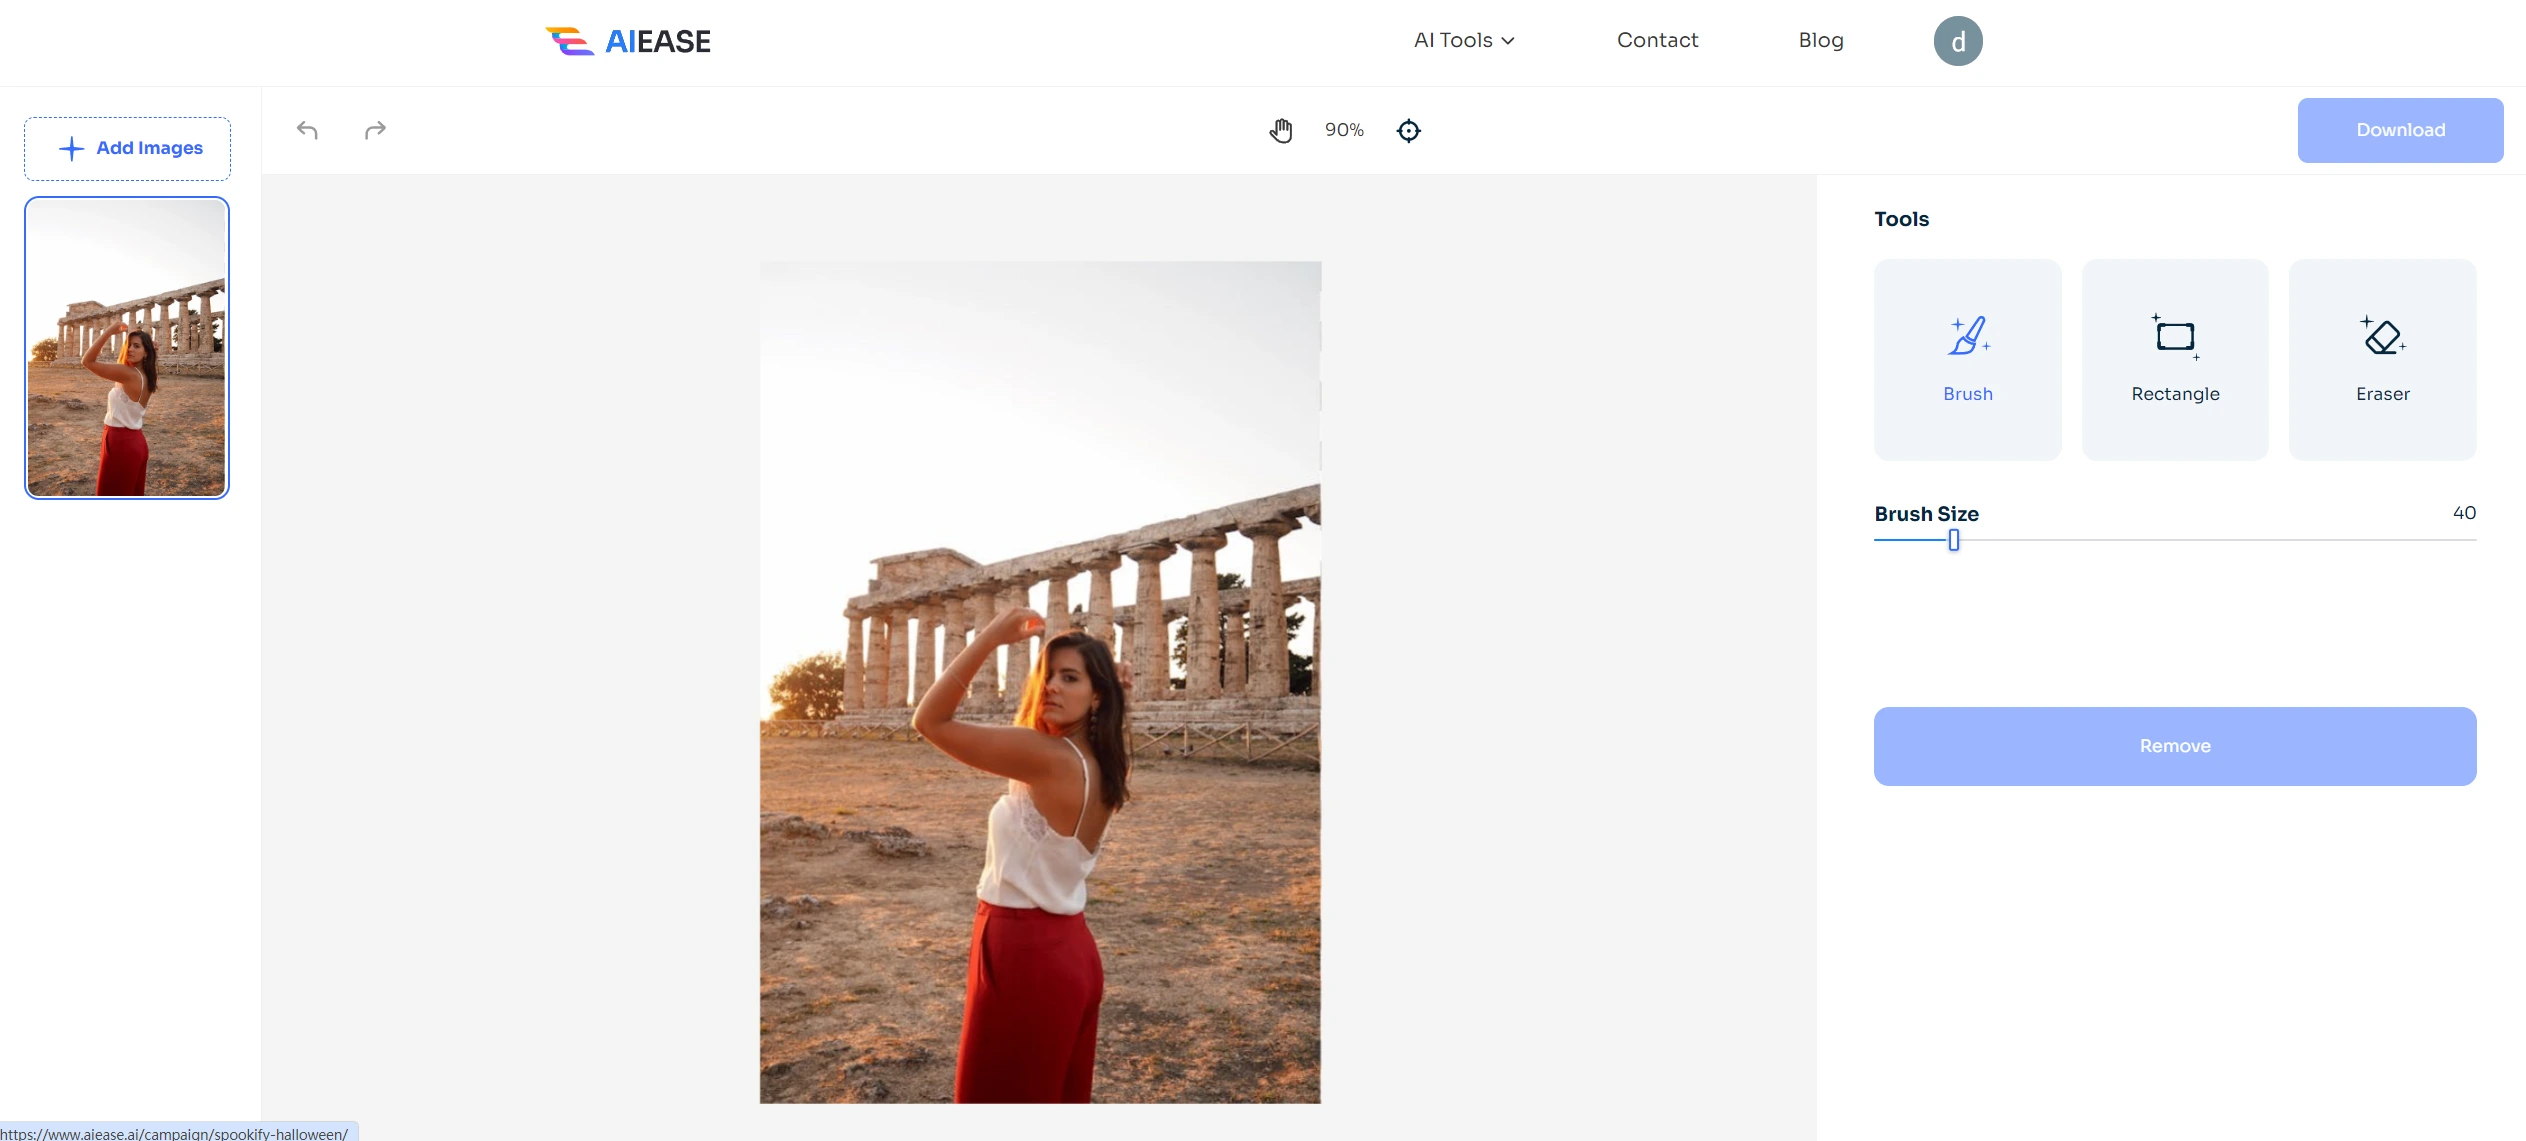
Then, click “Upload” to select the images from your device. You can also drag and drop the images into the canvas.
3. Paint Over the Objects
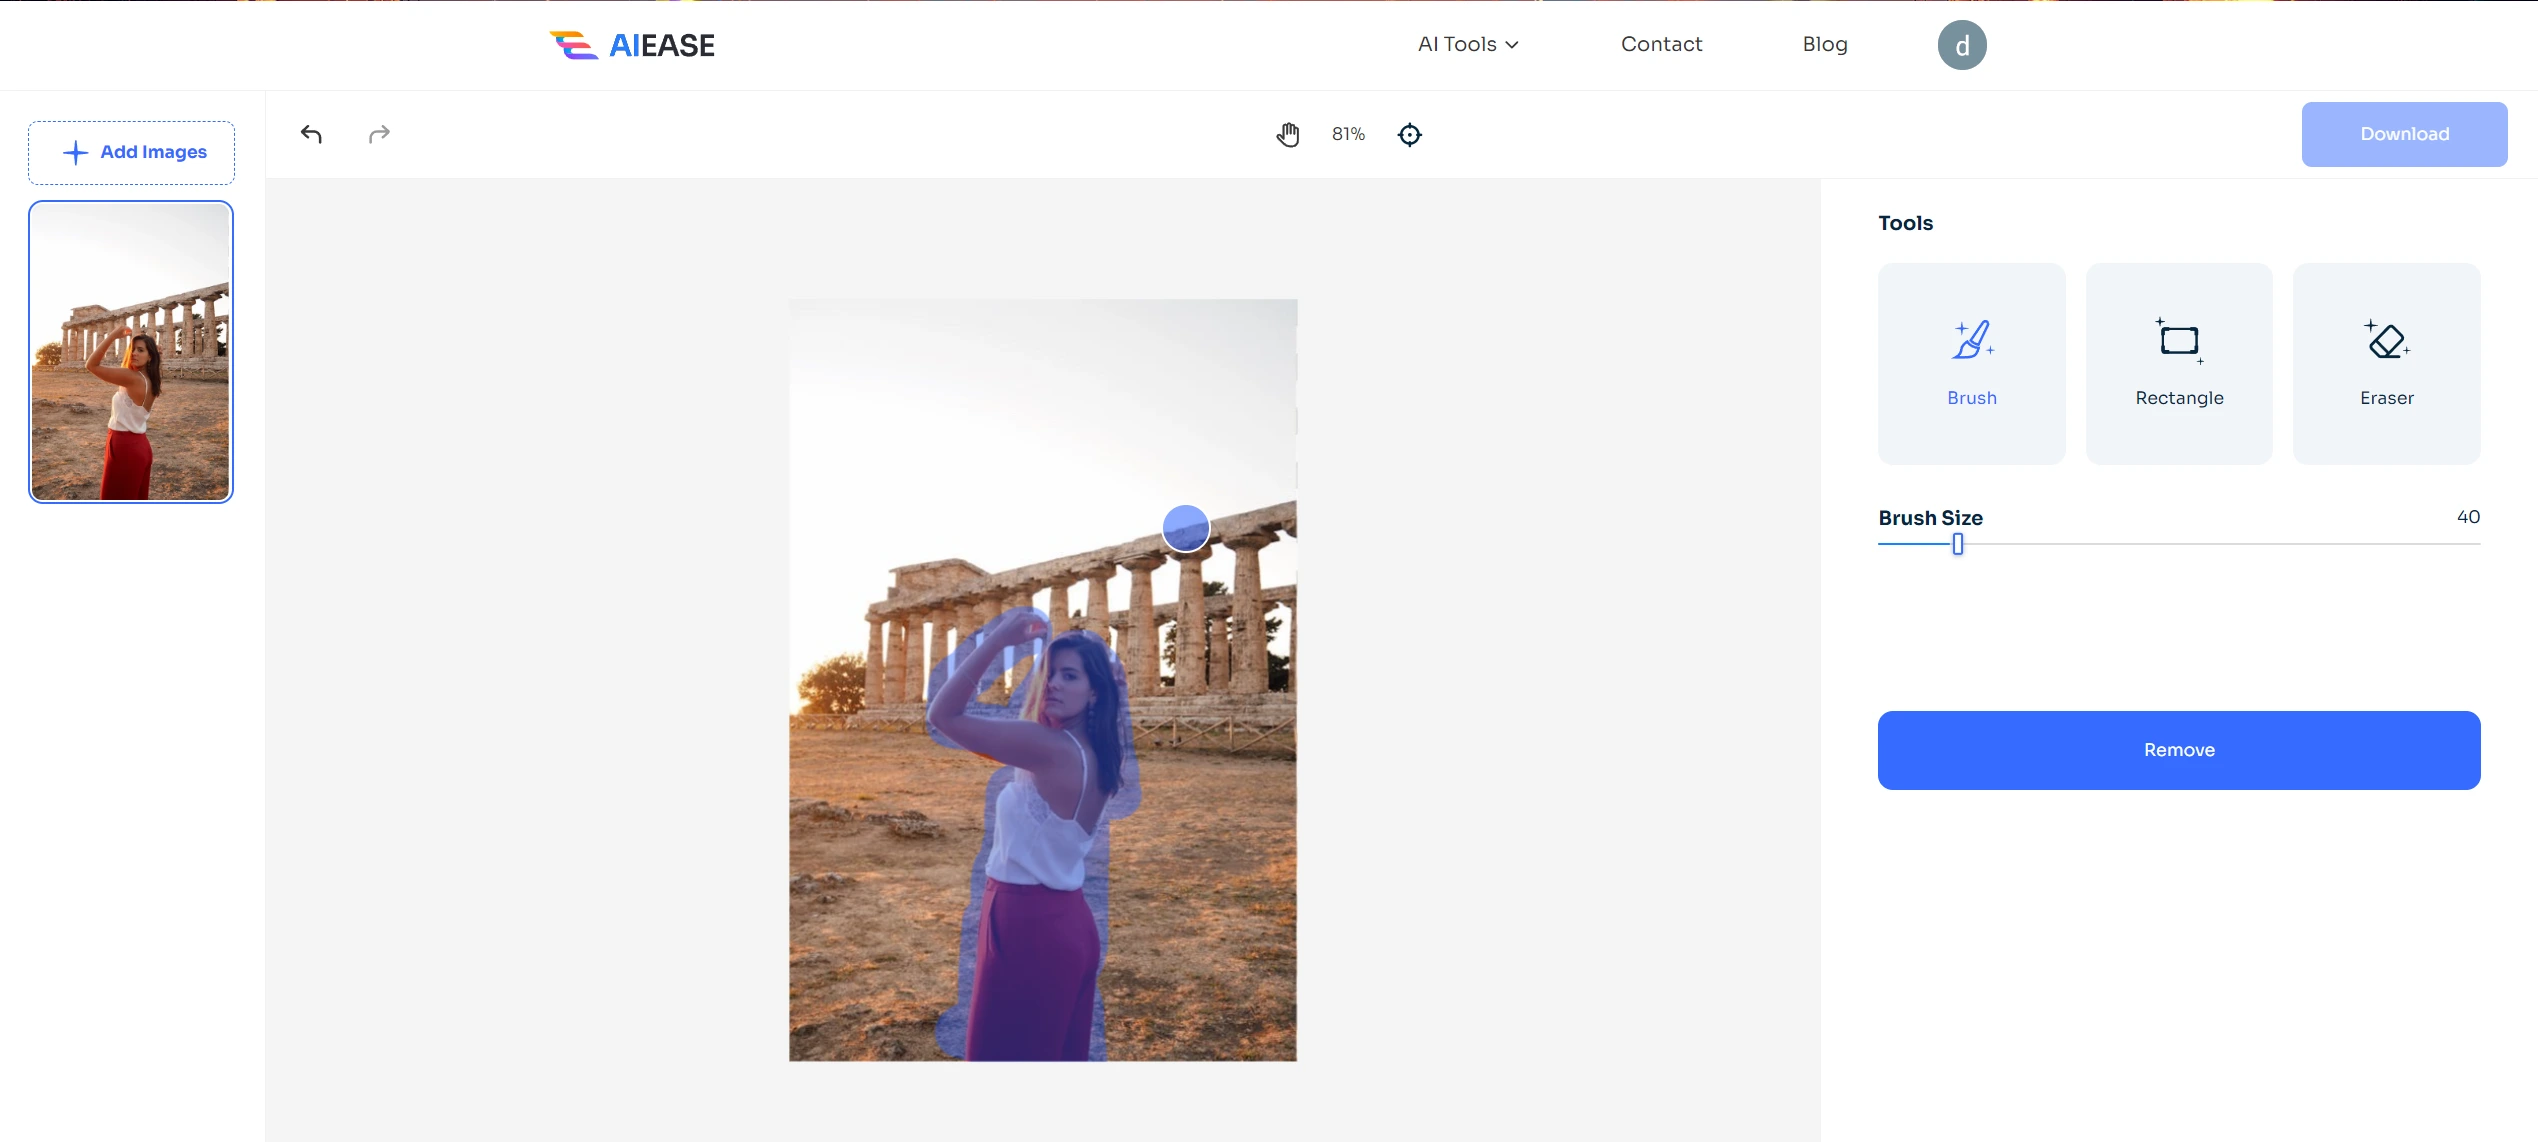
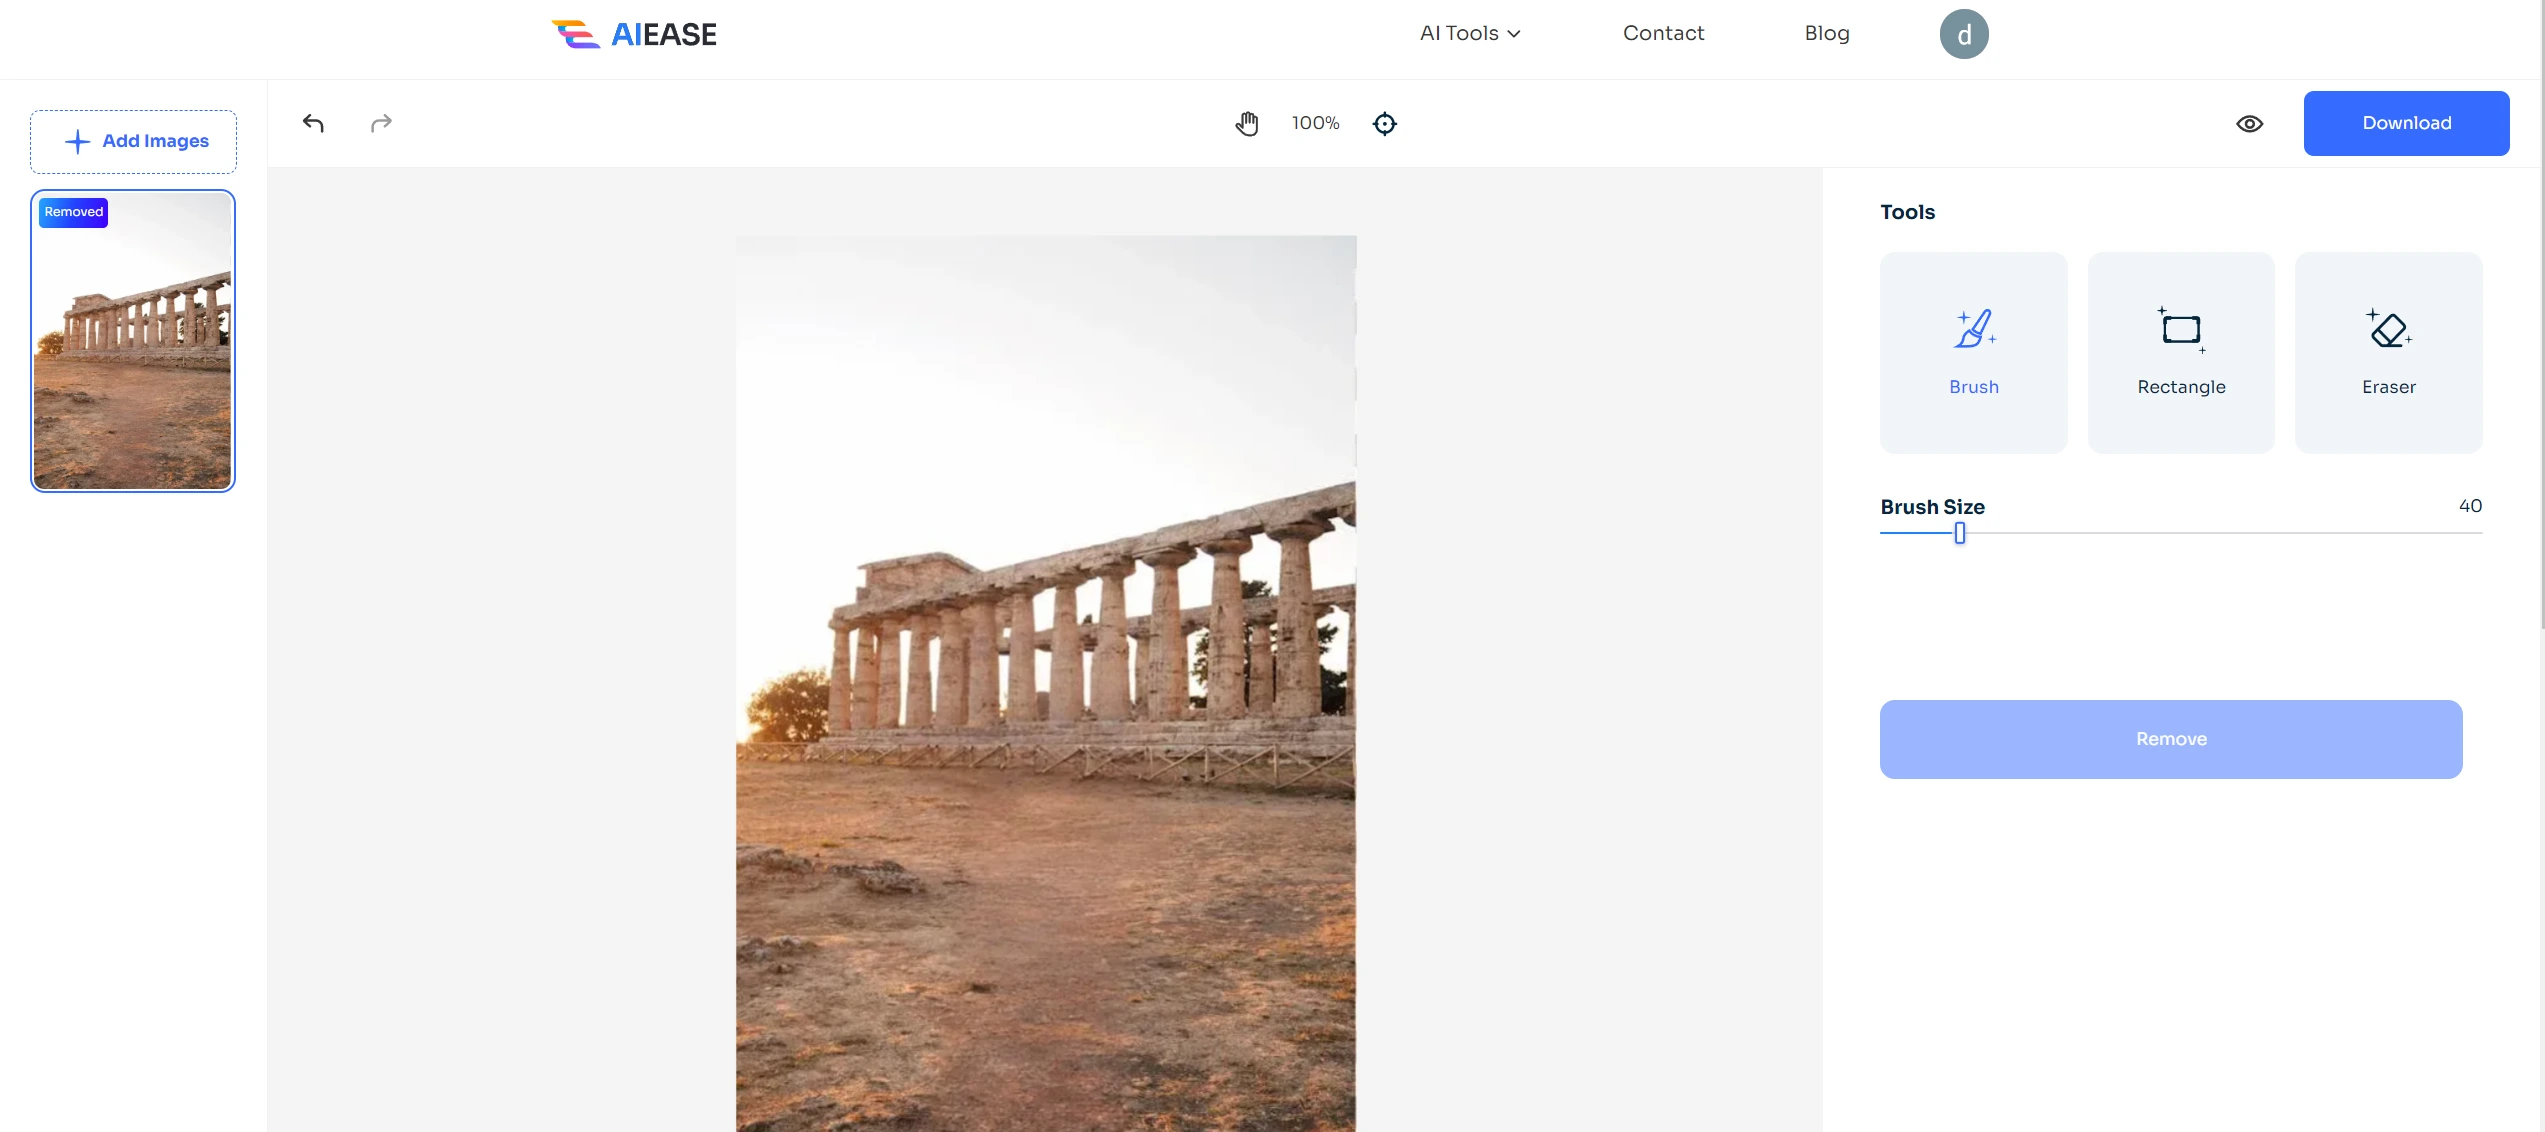
Here, you have two options: either use the brush tool to paint over the person in the image or use the ‘Rectangle’ tool to select the area you want to eliminate. Next, click “Remove” to start the AI removal.
4. Preview the Results
Seconds later, click on the “eyes” icon on the upper-right side to preview the before-and-after results. If you’re not happy with the final image, you can redo/undo the current step.
5. Download and Share
Once done, click the “Download” button to save the clean image to your device or share it with friends and family on social media.
Advanced Techniques and Software
For those seeking more control and finesse, advanced software options and techniques await. These tools offer greater precision and additional features for professional-grade results.
Exploring Advanced Software
AI-powered tools like those in Luminar AI and Affinity Photo make intricate edits easier. The Sky Replacement and Composition AI features of Luminar AI allow for one-click adjustments that significantly change a photo’s visual effect. The inpainting brush tool in Affinity Photo is a potent substitute for Content-Aware Fill in Photoshop.
Achieving a Professional Finish
Always work in high resolution to maintain photo quality and save edits in lossless formats like TIFF. By using layer masks, you can make edits look better while keeping the original picture data. These tips can give your pictures a professional look while still keeping their original quality.
Before and After Transformations
Consider a bustling street scene in which you want to focus on architecture rather than passersby. By removing people, the image emphasizes architectural details, creating a cleaner and more compelling visual story.
Real-World Applications
Fashion bloggers often use these techniques to highlight outfits without background distractions. Similarly, real estate photographers remove cars or signs to create attractive listings. These illustrations emphasize the adaptability and usefulness of learning photo editing techniques.
Advice for Graphic Designers, Photographers, and Social Media Managers
Each group within the target audience can benefit uniquely from mastering photo removal techniques.
• Social Media Managers
Clean, consistent images are essential for social media managers’ brand branding. These strategies ensure that every post reflects your business’s style and message. By regularly upgrading your skills, you can maintain the interest and freshness of your content.
• People Who Love Photography
By eliminating distractions, photographers can improve the quality of their artistic expression. Gain a sharp sense of composition and apply these abilities to enhance your portfolio. Try out a variety of tools to see which ones best suit your imaginative vision.
• Graphic Designers
Precision editing is critical for graphic designers to deliver quality projects. Use advanced software to refine your work and ensure every element is intentional. Your ability to produce clean and compelling visuals can set you apart in the industry.
Conclusion and What to Do Next
In the fast-paced world of digital material, removing things you don’t want in photos is very useful. These skills can help you tell better visual stories, keep your audience interested, and raise your business profile. You are welcome to use these techniques and see how they change your work.
Please share your work on social media and tag us to have a chance to be highlighted. You can also join our community of creative people who share your interests. Sign up for our email for more steps and tips on improving your photo editing skills.

)