
)
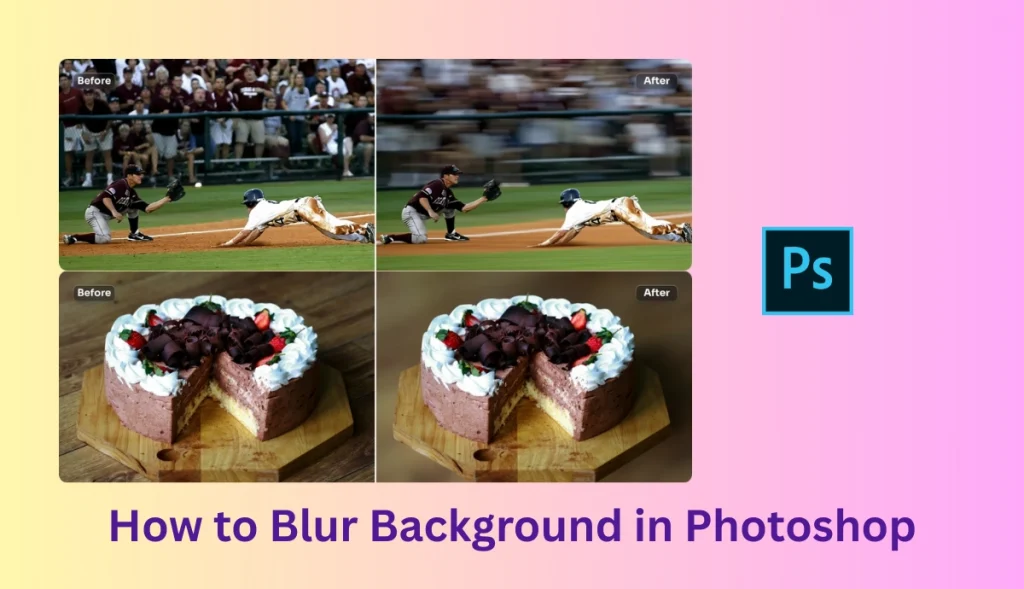
How to Blur Background in Photoshop: Step-by-Step Guide
You have often come across beautifully blurred backgrounds in photos that make the subject stand out perfectly. With Photoshop, you can blur the background and get your images like a professional. In this blog, we are going to teach you how to blur a background in Photoshop and an alternative tool for blurring a background.
Importance of Blurring Background
There are several reasons for blurring the background of a photo. It is a great technique. Here are some reasons why a blur effect enhances your photos:
1. Highlight the Main Subject
Blurring the background highlights the main subject, making it ideal for portraits and storytelling images.
2. Eliminate Distractions
Blurring ensures that viewers stay focused on the key elements of the image by removing background clutter.
3. Achieve a Clean Finish
A blurred background enhances the overall image quality, giving it a refined and professional appearance.
4. Maintain Consistency
Blurring backgrounds creates a neat and cohesive look, especially for product photos or marketing visuals.
5. Create Depth:
A blurred background can add a professional, three-dimensional look to flat visuals.
Options for Blurring Background in Photoshop
Photoshop is a powerful tool for editing photos; professionals rely on it. One of its great features is the ability to blur the background with precision and give quality results. Photoshop makes the blurring process seamless and customizable.
There are a variety of methods in Photoshop to blur the background of photos; we will briefly discuss them. Here are different options available in Photoshop for blurring a background. Let’s dive in:
Gaussian blur method: This is the simplest option for blurring background available in Photoshop. Most professionals use it. It applies a uniform blur across the area that is selected. It is a quick and easy method, simply select the area you want to blur, apply the filter, and adjust the intensity according to your needs.
Lens blur method: Lens Blur simulates the results of a real camera lens. It is an amazing blur option that gives a more natural-looking blur. It highlights and sharpens the main subject in depth. This option allows you to add a bokeh effect to enhance the background. It is the best choice when you want to give your photos a DSLR look.
Field blur method: The Field blur allows you to blur a specific part of the image. You can control the intensity of the blur in specific areas by placing adjustable pins. This option is suitable when a photo has multiple focal points; it gives a smooth transition between blurred and sharp areas.
Iris blur method: This is another method available in Photoshop’s blur gallery for blurring a background that creates a circular blur around a focal point. It is ideal for highlighting central subjects such as portrait and product photography. This method produces a soft and professional background in photos.
How to Blur the Background in Photoshop: Step-by-Step Guide
We are going to teach you how to blur a background in Photoshop using the Gaussian method:
1. Open Your Image
First of all, you have to open your image in Photoshop.
2. Duplicate the Background Layer
In the layer panel, right-click on the background layer and then select the “Duplicate Layer” option or press Ctrl+J on the keyboard.
3. Select the Subject
Use a quick selection tool to outline your subject. For selection, you must press and hold the left mouse button and operate it on the subject.
4. Invert Selection
After that, click on Select > Inverse to focus the blur on the background.
5. Apply Gaussian Blur
Navigate Filter > Blur> Gaussian Blur. Adjust it to achieve your desired effect, then click OK.
6. Deselect the Selection
Press Ctrl+D from the keyboard to deselect the selection.
Try AI Ease: The Best Alternative to Photoshop
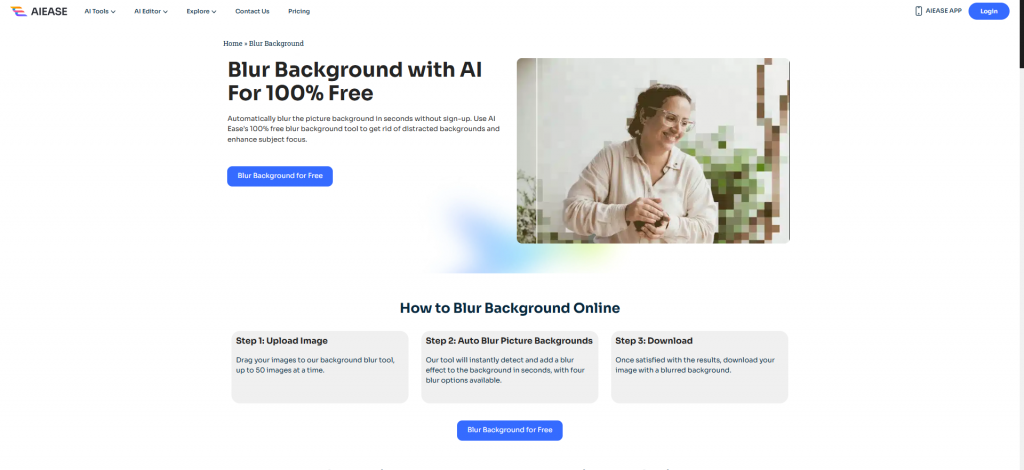
You have learned about Photoshop, but blurring backgrounds in Photoshop requires technical skills, so this is not for beginners. Is there any easy method? The answer is yes. AI Ease is an AI-powered tool that blurs a background easily.
This is an online tool; anyone can use it. Moreover, AI revolutionized the world. Many businesses and individuals use these online tools to increase work speed and boost productivity. A study said that 77% of companies use or explore AI in their operations. So, for this task, you can use AI Ease- an online tool that can quickly analyze, detect, and separate the foreground from the background, then automatically apply the blur effect.
AI Ease is the best tool for quick results. It is fast and efficient, giving high-resolution results within a few seconds. It is a 100% free and user-friendly tool, so you don’t need any technical skills to use it.
AI Ease offers four blur options for every level, which you can use for free to apply the effect you want. Whether you are a beginner or an expert, this tool ensures you get a perfect blur effect with minimal effort.
Features of an AI Ease:
- Free tool: AI Ease is a free tool for anyone who wants to blur the background quickly.
- Easy to use: AI Ease is easy to use for beginners; anyone can use it without any knowledge of editing software.
- AI-powered Technology: AI Ease is based on AI-powered technology that can automatically detect the background and apply effects.
- Fast and efficient: It is a quick, fast, and safe tool that gives high-quality results within a few seconds.
- Batch Processing: On AI Ease, you can upload up to 50 photos, making your work fast and efficient.
- No signup needed: AI Ease can facilitate its users to use it without signing up.
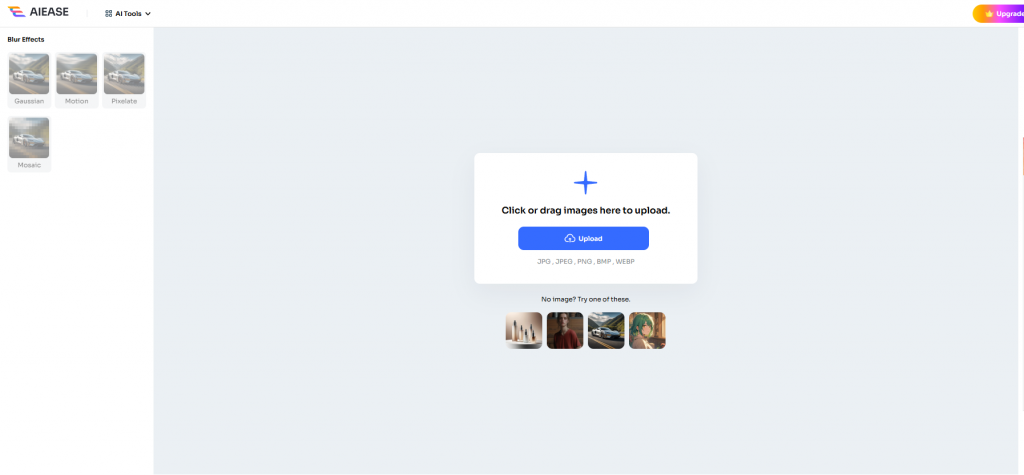
- Four blur options: AI Ease can have four different blur options: Gaussian, Motion, Pixelate, and Mosaic.
Step-by-Step Guide to Blur Background with AI Ease:
- Step 1: GO to the AI Ease website
- Go to your browser and type AI Ease, the website of AI Ease will appear. Tab on them.
- Step 2: Select the Blur Background Option
- After that, select the Blur Background feature.
- Step 3: Upload your Image
- Click on “upload”, then select your image.
- Step 4: Blurring background
- AI Ease can automatically detect and add a blur effect to the background.
- Step 5: Apply Effect
- AI Ease has four different options, selected according to your requirements.
- Step 6: Download the Image
- After applying effects, your image is ready to download; it will be downloaded as a PNG format.
Final Thoughts:
You have learned how to blur the background, a necessary skill to enhance your photo’s focus and appeal. With AI Ease, you can customize the blur effect to suit your needs. So, to get amazing visuals, try AI Ease and watch your photos transform into stunning, professional-quality photos.