How to Scale an Image in Photoshop?

You must have tried so hard sometimes to fit a perfect picture in a frame, post it on social media, or get a sharp print until it ends blurry and stretched.
Knowing how to scale a photo in Photoshop without losing the quality can make all the difference.
This article will walk you through some easy steps to resize images in Photoshop flawlessly and introduce a powerful alternative tool, AI Ease Photo Enhancer, that might save you time and trouble.
Why Do You Need to Resize an Image?
Resizing images serves a number of uses:
Fit Images to Specific Platforms: Some platforms, such as LinkedIn or Instagram, call for specific image sizes.
File Size: Large-sized images take longer to download online and have a larger space allocation
Print Quality: Any image needs to be printed with high resolution in order to be printed clearly. The majority of web images run on lower resolutions.
Step by Step guide on how to scale images using Photoshop
How to resize an image in Photoshop is not hard once you get the hang of it, but it can be confusing when you first start. Here’s how to do it:
1. Opening the Image Size Editor
- Start by opening your image in Photoshop for resizing:
- On top of the screen, select the Image menu.
- Select Image Size from the dropdown menu.
This will open the Image Size dialog box, where you’ll find tools to change your image dimensions, resolution, and quality.
2. Adjust Width and Height
In the Image Size box, you’ll see fields for Width and Height. Here, you can change the measurements in pixels, inches, or other units.
- Tip: If you’re resizing for social media, use pixels (like Instagram’s 1080 pixels width limit). For print, inches or centimeters are often best.
3. Maintain Quality with Resample Selected
One key to resizing without quality loss is using the Resample checkbox:
- Resample allows Photoshop to keep the image dimensions consistent, so you can change resolution without stretching.
- Keeping this checked helps prevent image distortion, ensuring the final image stays sharp.
4. Confirm and Save
When you’re happy with your settings:
- Click OK to apply the change.
- Save a copy of your original file by first selecting File > Save As in order to avoid overwriting it.
By following these steps, you will be able to resize images without losing quality. However, many times, Photoshop is a little too intimidating. Let’s take a peek at an even easier way.
AI Ease Photo Enhancer: A Photoshop Alternative for Image Resizing
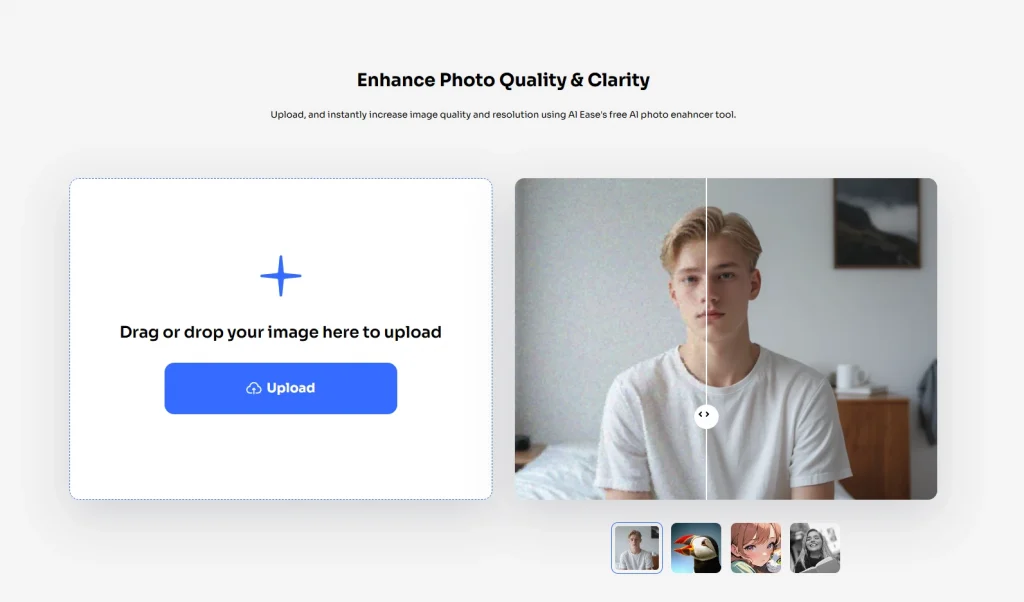
While Photoshop offers great tools, AI Ease Photo Enhancer is a free online alternative that simplifies the process. This tool uses AI to upscale images with excellent clarity, making it a great option for anyone who wants quick results without all the technical steps.
Key Features of AI Ease Photo Enhancer
AI Ease Photo Enhancer offers unique features that can simplify image scaling:
- Free and Online: No software installation is needed; it works directly in your browser.
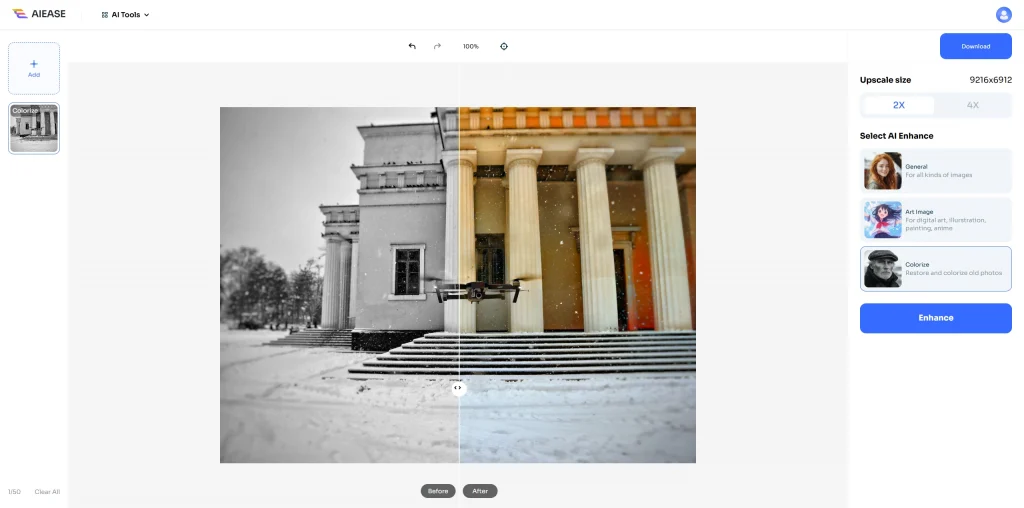
- AI Models for Different Needs: Choose from “General,” “Art Image,” or “Restore & Colorize” to get the best results.
- Batch Processing: Process up to 20 images at once.
- Upscaling Options: Enhance images to 2x or 4x their original size for improved clarity.
How to Use AI Ease Photo Enhancer
Using AI Ease is straightforward, even if you’re a beginner. Here’s a quick guide:
1. Upload Your Image: Go to AI Ease’s website and select the photo you want to enhance.

2. Choose Your AI Model: Depending on your photo, pick the best AI model. For example, “General” works well for most images.
3. Select Upscaling Level: Decide if you want to upscale by 2x or 4x.

4. Download Your Enhanced Image: AI Ease will automatically process the image, giving you a sharper, high-quality result.
This tool can be a great replacement for Photoshop, especially if you’re looking for a fast, user-friendly way to enhance images without sacrificing quality.
Tips for Image Resizing Success
Choosing the Right Resolution
Different uses call for different resolutions. Here’s a quick guide:
- Web Use: 72 PPI (pixels per inch) is typically sufficient for web images.
- Print: For clear, high-quality prints, 300 PPI or higher is recommended.
Use Export to Create Smaller Files
If you want a lower file size without changing the actual image, try using File > Export As. This lets you adjust quality and file size independently, which is ideal for web images that need to load quickly.
Resampling Options in Photoshop
Photoshop offers resampling options to control how it adjusts pixels when resizing:
- Automatic: Generally a good option.
- Bicubic Sharper: Best for reducing images.
- Bicubic Smoother: Works well for enlarging images.
Experimenting with these settings can help you keep the quality high while resizing.
Benefits of AI Ease Photo Enhancer vs. Photoshop
| Feature | Photoshop | AI Ease Photo Enhancer |
| Ease of Use | Moderate (steeper learning curve) | Very easy, suitable for beginners |
| Quality Control | High but requires knowledge | Automated, optimized by AI |
| Cost | Paid | Free |
| Batch Processing | Limited | Supports up to 20 images at once |
With its user-friendly design and automated features, AI Ease Photo Enhancer is a great choice for quick, high-quality image scaling. It can save time and effort and, potentially, the cost of a Photoshop subscription.
When to Choose AI Ease Photo Enhancer Over Photoshop
While Photoshop is a powerful tool, AI Ease Photo Enhancer shines in these situations:
- Need for Speed: If you’re in a hurry, AI Ease’s one-click processing is ideal.
- Limited Photoshop Skills: New to editing? AI Ease’s simplicity is a perfect match.
- Batch Processing: Resizing multiple images at once saves time with AI Ease.
AI Ease can be a lifesaver for those looking to avoid Photoshop’s complexity. It offers great quality with minimal effort.
Final note
Scaling images correctly is a skill that can save time, improve quality, and ensure consistency across your projects. Whether you’re using Photoshop or AI EASE Photo Enhancer, you can quickly learn the steps to make every image look its best.

)