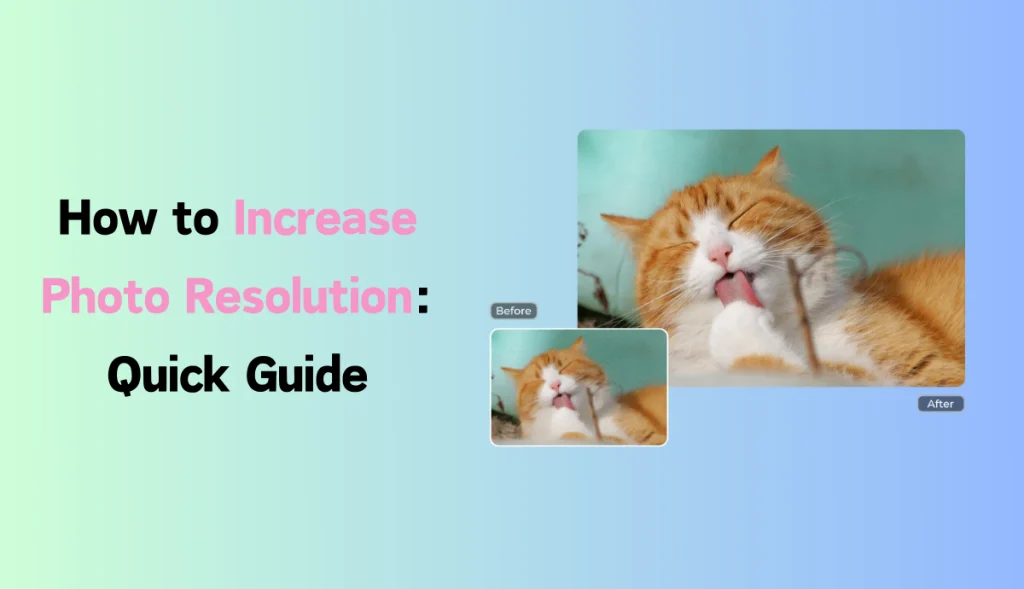
How to Increase Photo Resolution: Easy Guide for Clear & High-Quality Images

Have you ever taken a photo that captured a perfect moment but realized it looked pixelated when you enlarged it?
Increasing the resolution of photos can be the solution to make them clear and sharp whether you are editing for personal use or professional projects.
In this guide, we will explain how to increase photo resolution by understanding what resolution truly means using different tools and which is best.
So let’s dive in and unlock the secret of clearer, sharper, and professional-looking photos.
What is photo resolution?
Photo resolution refers to the amount of detail a picture holds, that is measured in pixels. Pixels are the building blocks of a photo; the higher the count of these blocks, the more clearly the photo can look. Each photo is made up of pixels, and the more pixels a picture has the clearer and more detailed it appears.
Resolution is usually expressed in pixel dimensions in terms of inches. A higher resolution means more pixels, which translates to better clarity and detail. A higher-resolution photo usually appears clearer and sharper than a lower resolution.
This becomes important if you want it in a professional design or display it on large screens. A low-resolution picture will look pixelated when enlarged, making it less ideal for high-quality presentations.
Why should you increase Photo Resolution?
There are many reasons why learning how to increase photo resolution can be useful and valuable. Higher-resolution photos give a professional and polished look necessary for branding and marketing.
If you are designing printed materials like posters or brochures, higher resolution ensures your photo maintains clarity and sharpness even in a larger format. On social media, resolution matters a lot, and a high-quality photo can grab attention and boost engagement.
Increasing the resolution of old and low-quality photos can help preserve cherished memories, making them look fresh and improved.
How to increase photo resolution in Adobe Photoshop?
Adobe Photoshop is a powerful tool for editing that professionals rely on. It allows users to upscale photos and refine details without compromising quality. It is known for its powerful editing features. The software offers different options like layers, masks, and filters, giving users complete control over every aspect.
However, Photoshop’s extensive features can make it challenging for beginners.
Here is the step-by-step guide on how to increase photo resolution in Photoshop:
- Open the photo in Photoshop: Firstly, open your image in Photoshop.
- Go to image size: From the top menu, click on Images > Image size.
- Adjust Dimension and Resolution: In the Image size dialog Box, you can set the width, height, and resolution as your requirements.
- Enable Resampling: Enable the Resample. This allows Photoshop to add pixels and increase resolution.
- Choose Resample method: In Photoshop, there are several methods of resampling, such as Preserve details and Bicubic Smoother.
- Apply changes: Click OK to apply changes, and save the photo in a high-quality format.
How to increase photo resolution in Pixlr?
Pixlr is a free browser-based tool to increase resolution. It offers a variety of tools to enhance photos. With Pixlr you can make common edits it does not offer advanced options. For users looking for basic editing Pixlr is a suitable tool for them.
Here’s how to increase resolution in Pixlr:
Open the Pixlr: Visit the website of Pixlr and open it for editing.
- Upload your photo: To upload it, click Open Image and select the photo you want to edit.
- Resize the Photo: Go to the Image tab and Resize Image. Choose your required width and height.
- Adjust Quality Setting: Pixlr allows you to control the quality to retain as much detail as possible when resizing.
- Save your Photo: Once you complete the process, save your photo in a high-quality format.
Best Tool for Increasing Photo Resolution: AI Ease
If you are looking for an effective and quick way to increase the resolution of photos, AI Ease is the perfect solution.
AI Ease photo enhancer is a versatile tool to enhance photo resolution with less effort and maximum results. It is a simple and powerful tool built on advanced AI algorithms, that can transform low-resolution photos into sharp, clear, and high-quality visuals in seconds.
Unlike other complicated software, AI Ease has a user-friendly interface and does not require any technical skill to use it. This tool is perfect for designers and marketers who need high-resolution photos for their projects.
With AI Ease, you can say goodbye to low-quality photos and effortlessly enhance their resolution.

How to Increase Photo Resolution With AE Ease: Quick Guide
Increasing photo resolution is easy in AI Ease. Let’s follow these steps:
Step 1: Visit AI Ease:
Open your browser and visit the AI Ease website.
Step 2: Select AI enhancer:
The Free AI Tool tab will open; Select Photo Enhancer.
Step 3: Upload Your Image:
Click on “upload,” then select the photo you want to edit.
Step 4: Choose Enhancement options:
Adjust the resolution to 2x or 4x.
Step 5: Download:
Once done, download your enhanced and high-resolution photo.
Final Thoughts:
Knowing how to increase photo resolution can elevate the sharpness and quality of your photos, making them clear and professional. Whether you are increasing the resolution of your personal memories, professional work, or social media content, having high-quality photos gives an impressive look.
And AI Ease Tool is super best for enhancing photo resolution. Unlike traditional editing, which can be time and effort-consuming. So, if you are looking for a quick way with minimal effort, AI Ease stands out as one of the best tools.
So, if you want to enhance a single photo or batch of images, AI offers a time-saving option. Give it a try and see how quickly it transforms your photos into high-quality visuals.

)