How to Enhance Photos in Photoshop & Best Online Free Alternative

If you’re one of those who want more pop in your shots, Photoshop is probably the best tool around. Whether a beginner or pro, there’s plenty from Photoshop that can transform your images. But what if you need something even simpler and free?
Learn the best ways to enhance a photo using Photoshop in this lesson, then discover an excellent online choice called AI Ease for those who want a free, easy-to-use option for enhancing.
Why Enhance Photos?
Sometimes, the captured picture does not turn out as we have it in our minds. Perhaps the lighting was off or the color tones were dull. Editing helps bring out what’s in your head. With some adjustment, a good photo will initially be a great one. Brightness can be balanced, colors rectified, and details sharpened: the difference can make all the difference.
Let’s start with doing this in Photoshop.
Step-by-Step Guide to Enhancing Photos in Photoshop
Photoshop has many powerful features. Here’s how to use some of the most popular ones to enhance your photos.
Adjusting Brightness and Contrast
Brightness and contrast can make your photos appear brighter and more clearly defined.
- Image > Adjustments > Brightness/Contrast.
- A slider will appear. Slide it left or right to lighten or darken your image, and its contrast-its difference between light and dark areas.
- Tweak until the image appears clear and balanced.
Fine-Tuning Colors with Hue and Saturation
You can adjust hue and saturation if your photograph’s colors seem pale or inaccurately toned.
- Picture > Adjustments > Hue/Saturation.
- If you find the colors looking too warm (too orange) or too cool (too blue), try moving them around on the Hue slider.
- Use the Saturation slider to make colors bright and vibrancy or toned down.
- Adjust carefully so as not to over-saturate colors, which may cause the colors to appear unnatural.
Sharpening the Image
Sharpening will help reveal details, mainly used for landscapes and portraits.
- Go to Filter > Sharpen > Unsharp Mask.
- You can now see three sliders: Amount, Radius, and Threshold.
- You can raise the Amount and Radius by a tiny amount to enhance the detail. Sharpening by too much is unappealing and results in an unappealing “grainy” effect.
- Click OK once it looks clean.
Using Levels to Balance Exposure
Levels enable you to control the highlights, mid-tones, and shadows to balance the exposure.
- Image > Adjustments > Levels.
- You can now see a histogram (graph) with three sliders: Black, Gray, and White.
- The black slider pulls right and darkens shadows; the gray slider brings middle tones back to normal, and the white slider brings more highlights to the image.
- Continue fine-tuning until the photo has good contrast, but not at the cost of losing detail.
Correcting Colors with Color Balance
Color balance lets you adjust colors like red, green, and blue to correct odd color casts.
- Go to Image > Adjustments > Color Balance.
- Use the sliders to balance out any excessive colors in your photo.
- This is especially helpful if your photo has a yellowish or bluish tint that you want to neutralize.
- Once your image looks more natural, click OK.
Best Online Free Alternative – AI Ease
Photoshop is great but not cheap and a little bit daunting. If it’s easy and free you want, then give AI Ease a go as an online tool powered by artificial intelligence that can turn out quite impressive results without taking a long time to master.
Why Choose AI Ease?
This tool is perfect for anyone wanting to enhance photos quickly. It uses AI algorithms to auto-adjust photos, meaning you don’t have to fiddle with complex settings. Plus, it’s online and free, which means no downloads or fees. All you need is an internet connection, and you’re set!
Key Features of AI Ease
- 100% Free: AI Ease is completely free, allowing you to enhance photo quality and clarity at no cost.
- Automatic & Fast: It’s a super-speedy, automatic tool that makes photo enhancement simple and easy, even for beginners.
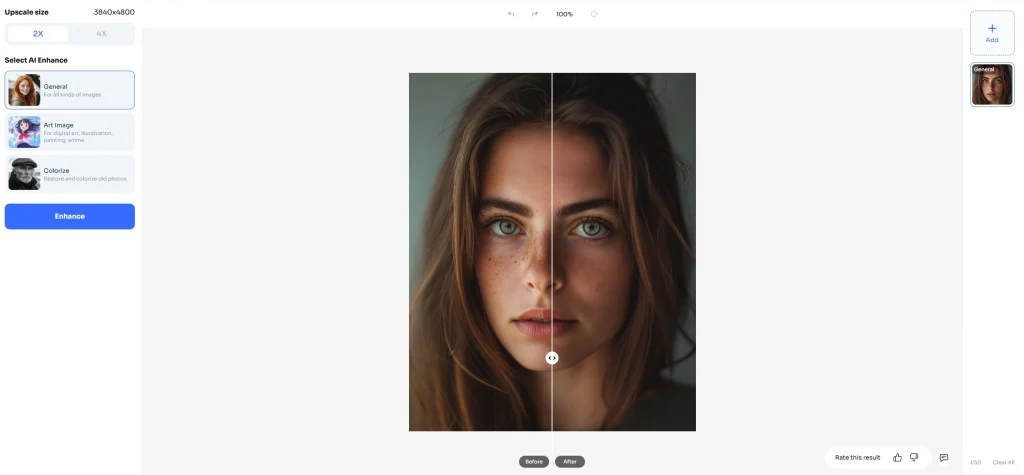
- AI Model Choices: You can choose from three AI models:
- General: For everyday photo enhancements.
- Art Image: Perfect for illustrations or creative images.
- Restore & Colorize: This is very handy in restoring old photographs or colorizing black-and-white images.
- Batch Upload: You can upload and edit up to 20 pictures at a time, perfect for those with multiple photographs.
- Resizing images: AI Ease can resize an image to your choice up to 2x or 4x, giving you much higher clarity and quality.
How to Use the Photo Enhancer in AI Ease
Using AI Ease is incredibly simple. Here’s a quick guide:
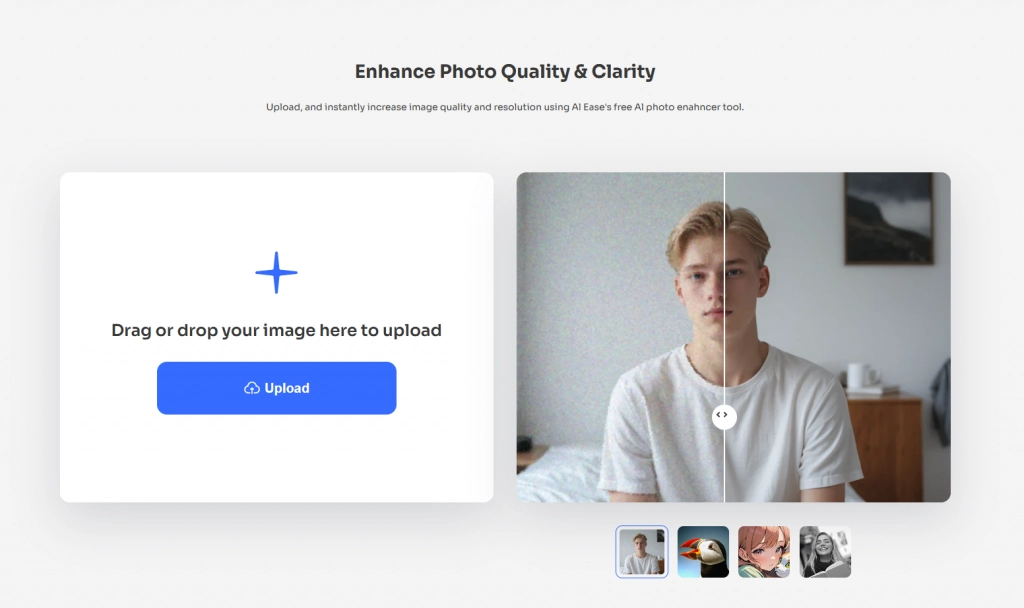
Upload Your Image: Visit AI Ease’s online photo enhancer and upload your photo.

Automatic Enhancement: The tool will automatically enlarge and enhance your photo, sharpening and clarifying the image.
Select an AI Model: If you’re not fully satisfied with the first results, switch between the General, Art Image, and Restore & Colorize models to see which one works best. You can also upscale your image to 4x for even more detail.

Download: Once satisfied with your updated picture, download it to share or save.
Final Thoughts
Photo enhancement makes images look more beautiful to you. Photoshop has very strong tools for this, where every detail can be set fine. However, AI Ease is the free alternative that is quick, easy, and doesn’t require any technical skills and can provide impressive results for you.
So, whether you are a Photoshop pro or a beginner looking for free solutions, there is one for everyone. Try enhancing your next photo with Photoshop or AI Ease and see the difference a little editing can make!

)