
)
How to Face Swap in Photoshop: A Complete Guide for Beginners
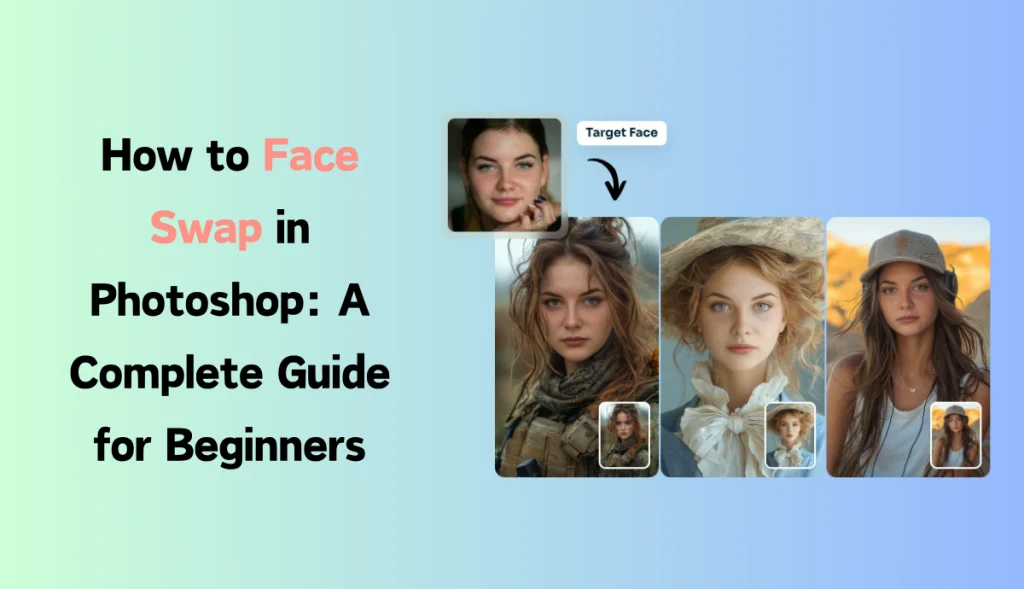
Face swapping is an amazing new way to generate hilarious images, make your group photos more fun, or just put creative twists on your images. No matter if you are beginning with Photoshop and want to try some simple things or advanced and learn about the latest AI-powered editing tools like AI Ease, this guide will walk you through literally the most necessary things about face swapping. Now, let’s get into some easy face-swapping!
What is Swap Face?
Face swap means the digital switching of faces between two individuals in a photo. Normally, it’s done to make funny images, to reimagine famous scenes with different actors, or simply to give any picture a twist. Among the professional editing tasks, face swaps are sometimes required to fix problems in a group photo where one person’s expression didn’t turn out as intended and is swapped out for a better-captured shot of their face.
Swapping faces used to be such a time-consuming and complex process. With every improvement in technology, including AI-related ones, face-swapping slowly becomes less complex to handle and far more approachable.
Why Do People Use Face Swap?
Face swapping isn’t just for fun—although it’s certainly entertaining! Here are some common reasons people use face swaps:
- Perfect Group Photos: Sometimes, it’s difficult to get everyone looking great in a single shot. Face swaps can help by blending in a better expression from another photo. It’s super cool, right? You can save a lot of memories at beautiful places and have fun.
- Creative Projects: Face swaps are popular in digital art, storytelling, and social media content creation. They allow creators to experiment with imaginative concepts.
- Professional Editing: In fields like advertising, face swaps can help in achieving the perfect look or aligning with brand requirements.
- Entertainment: From memes to personal projects, face swaps offer endless entertainment.
How to Swap Faces in Photoshop
Photoshop provides powerful tools for face-swapping, allowing you to achieve precise and realistic results. You can trust this tool for high-quality face-swapping needs and have fun. Let’s walk through the process in a step-by-step manner:
Step 1: Open Both Images in Photoshop
First, open the two images you’ll be working with in Photoshop. Make sure the image of the face you want to swap in has lighting and angle similar to the target photo. Consistency in lighting and perspective is key to achieving a natural look.
Step 2: Select the Face
Open and use the Lasso Tool or the Quick Selection Tool to select the face you want to swap. You should be careful around the edges, but don’t worry if it’s not perfect—Photoshop’s blending tools will help refine it later.
- Choose the Lasso Tool from the toolbar.
- Carefully outline the face you wish to swap in.
- Once selected, copy the selection by pressing Ctrl + C (or Cmd + C on Mac).
Step 3: Paste and Position the Face
Switch to the target image and paste the copied face using Ctrl + V (or Cmd + V). Use the Move Tool to position it over the existing face. Don’t worry if it aligns differently, you can fix that in the next step.
Step 4: Resize and Rotate the Face In Photo
Press Ctrl + T (or Cmd + T on Mac) to activate the Transform Tool to resize and rotate the face. Adjust it until it aligns with the original face. You can also use the opacity setting to make the face layer semi-transparent while aligning for better accuracy.
Step 5: Blend the Edges Well
Once you’re satisfied with the position, it’s time to blend the edges. Use a soft eraser or a layer mask to gradually blend the edges of the pasted face into the target face. This process may take a bit of patience, but blending is key to making the swap look realistic.
- Use the Eraser Tool with a low hardness to soften the edges.
- If you prefer a non-destructive method, apply a Layer Mask and use a soft brush to paint around the edges.
Step 6: Adjust the Color and Lighting for Better Results
Sometimes, the swapped face may have a different lighting or skin tone than the target face. Go to Image > Adjustments and use tools like Brightness/Contrast, Color Balance, or Match Color to make the tones as similar as possible.
Step 7: Refine and Finalize The Image
Once the colors match and the blending looks natural, zoom out to check the overall look. Make minor adjustments as needed, and your face swap is ready!
How to Face Swap in Photoshop Using AI Generative Fill
Adobe Photoshop’s AI Generative Fill feature is an amazing tool that makes face swapping easier, especially for beginners. Here’s a quick guide on how to use it:
Step 1: Open Your Image and Select the Area
Start by opening your target image in Photoshop. Use the Select Subject or Object Selection Tool to select the face you want to replace.
Step 2: Activate Generative Fill
Right-click on the selection and choose Generative Fill from the menu. In the prompt box, type a description of what you want (e.g., “replace with a smiling face”) and let Adobe’s AI analyze and suggest options.
Step 3: Choose Your Desired Option
After the AI processes your request, it will generate multiple options. Browse through them and select the one that best fits your goal. You can adjust as needed until it feels natural.
Step 3: Download Your Image
Once the swap is complete, you’ll be able to download the new image. AI Ease offers a simple and quick solution that is great for anyone looking for an instant face swap.
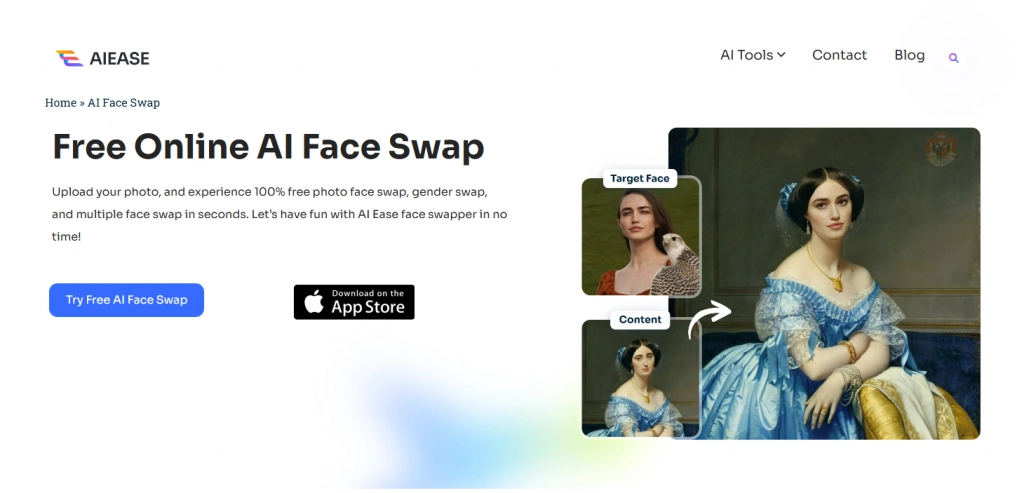
AI Ease: Best Free Face Swap Tool
If face-swapping methods in Photoshop feel a bit complex or you’re looking for a quicker, easier option, AI Ease is a great tool. It’s free, straightforward, and uses AI to handle the heavy lifting.
AI Ease is particularly handy for those who want to try face swaps without mastering Photoshop’s complex procedures. This online tool automates the process and works well for both casual and professional use.
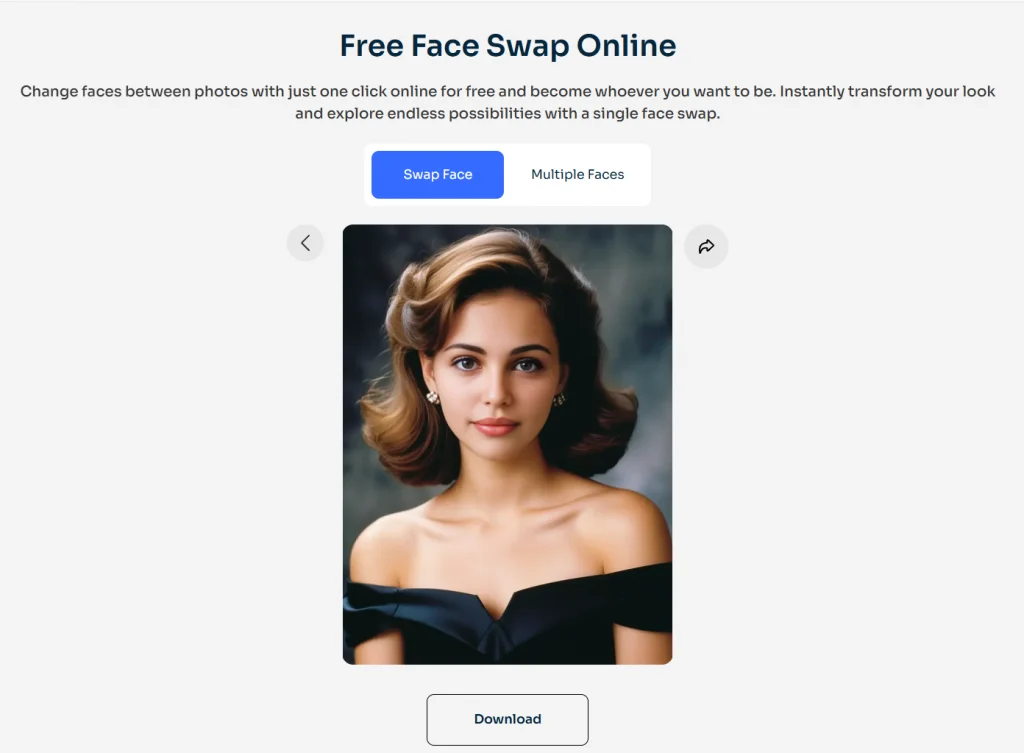
AI Ease is 100% free, with unlimited face-swapping options for everyone. It offers two face-swapping modes: single-person face swap and multiple face swap. Additionally, you don’t need to sign up to use it. Simply go to the website and try it for free without signup.
How to Swap Faces Using AI Ease
Face-swapping is a powerful way to improve your images, whether for fun or professional purposes. With ser-friendly tools like AI Ease, anyone can create impressive face swaps. Let’s learn these techniques and get creative with face-swapping!
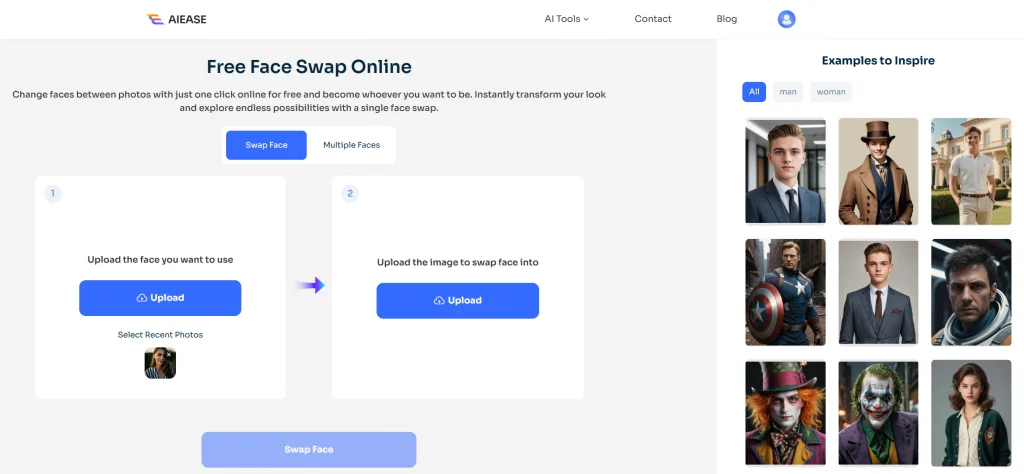
Step 1: Open AI Ease Face Swap Tool
Go to the AI Ease website > AI Face Swap,
Step 2: Upload the Photos
Upload the two images you want to use. Make sure both faces are visible and well-lit.
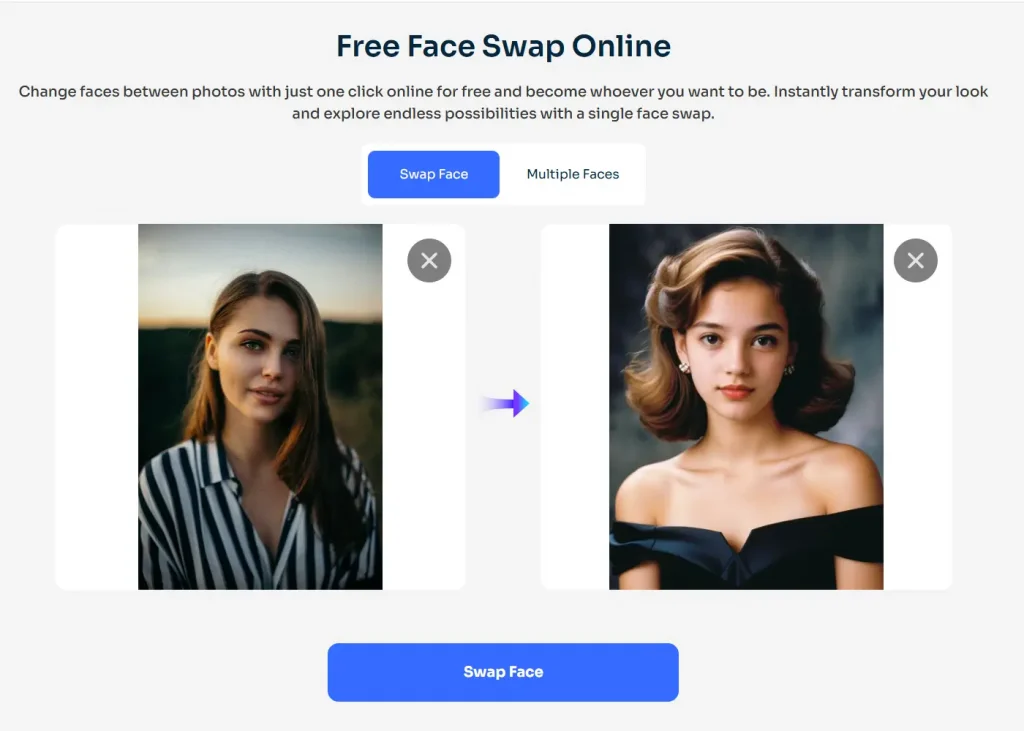
Step 3: Select the Face Swap Option
Select the Face Swap option. The AI will automatically detect and swap faces between the photos.
Step 4: Download Your Image
Once the swap is complete, you’ll be able to download the new image. AI Ease offers a simple and quick solution that is great for anyone looking for an instant face swap.
FAQs
How can you insert a face into another picture in Photoshop?
You can use Photoshop’s Lasso Tool or Quick Selection Tool to select the face, copy it, and paste it onto the target picture. Then, align, blend, and adjust for color and lighting.
Does Photoshop have an AI face swap?
Yes, Photoshop’s AI Generative Fill can be used for face-swapping tasks that use artificial intelligence to make the process quicker and easier.
How can you put a face on a picture in Photoshop?
Copy and paste the face onto the target image, use the Transform Tool for alignment, and blend the edges to make it look natural.
Can you edit faces in Photoshop?
Yes, Photoshop provides various tools, including Liquify, Spot Healing, and Clone Stamp tools, for face editing. AI-based features also streamline complex tasks.
What is the best AI tool for face swap?
AI Ease is a highly recommended tool for quick and easy face swaps, while Photoshop’s Generative Fill offers a powerful AI-based option.
Is Face Swap free?
Many tools offer face swapping for free, like AI Ease. Photoshop, however, requires a subscription.